Securely Storing Data On The Server Side in a Next.js SPA
To ensure the security of your data, it is crucial to employ a multi-layered approach, safeguarding it not only on the client side but also on the server side. One effective strategy involves storing data in an encrypted form on the server, coupled with encrypting the storage itself to fortify its security.
By encrypting sensitive information before storing it in a database (DB), the data is transformed into a secure, unreadable format, thus protecting it from unauthorized access. Subsequently, when retrieval is necessary, decryption is employed to convert the encrypted data back into its original, readable form.
This dual process of encryption and decryption establishes a robust security framework, ensuring that data remains confidential throughout its lifecycle and is only accessible to authorized entities. Implementing such measures not only enhances the overall security posture but also aligns with best practices in data protection.
Securely Storing the Secret Key that Used For Encryption and Decryption
The strength of encryption often relies on the security of the secret keys used. Secret keys should be handled with the utmost care to prevent unauthorized access and potential security breaches. Also, hardcoding keys directly into source code should be avoided to prevent accidental exposure. There are various locations to store the secret key such as Environment Variables.
Environment Variable provides a simple way to store configuration information, but it is important to ensure that access is restricted to authorized personnel only.
The crypto library
The crypto a fundamental component in Node.js, provides robust cryptographic functionalities for applications. Crypto empowers developers with a suite of cryptographic algorithms, including AES-256 encryption, to enhance the security of data storage and transmission.
- Installing the library
To use the crypto library, add it to your project by navigating to the client directory in a terminal window and running the following command:
npm install crypto
- Add
Snackbarcomponent
Add the following import statements to app/page_2/page.tsx:
import Button from "@mui/material/Button";
import { Stack } from "@mui/system";
import React, { useState } from "react";
import IconButton from '@mui/material/IconButton';
import CloseIcon from '@mui/icons-material/Close';
import Snackbar from '@mui/material/Snackbar';
import TextField from '@mui/material/TextField';
import { Box, Container, Typography } from "@mui/material";
import PermissionGate from "@/components/PermissionGate/PermissionGate";
import styles from "../styles/page.module.css";
import * as crypto from 'crypto';
Declare the following interface before the Page_2() function:
export interface SnackbarMessage {
    message: string;
    key: number;
}
Add the following boilerplate code inside the Page_2() function (before the return statement). This code snippet allows you to display notifications using the Snackbar component to the top right corner of the application:
const [snackPack, setSnackPack] = React.useState<readonly SnackbarMessage[]>([]);
const [open, setOpen] = React.useState(false);
const [messageInfo, setMessageInfo] = React.useState<SnackbarMessage | undefined>(
	undefined,
);

React.useEffect(() => {
	if (snackPack.length && !messageInfo) {
		// Set a new snack when we don't have an active one
		setMessageInfo({ ...snackPack[0] });
		setSnackPack((prev) => prev.slice(1));
		setOpen(true);
	} else if (snackPack.length && messageInfo && open) {
		// Close an active snack when a new one is added
		setOpen(false);
	}
}, [snackPack, messageInfo, open]);

const handleClose = (event: React.SyntheticEvent | Event, reason?: string) => {
	if (reason === 'clickaway') {
		return;
	}
	setOpen(false);
};

const handleExited = () => {
	setMessageInfo(undefined);
};

const action = (
	<React.Fragment>
		<IconButton
			size="small"
			aria-label="close"
			color="inherit"
			onClick={handleClose}
>
			<CloseIcon fontSize="small" />
		</IconButton>
	</React.Fragment>
);
Replace the code inside the PermissionGate component with the following snippet:
<>
    <Container>
        <Snackbar
            sx={{ paddingTop: 10 }}
            open={open}
            autoHideDuration={2000}
            onClose={handleClose}
            TransitionProps={{ onExited: handleExited }}
            message={messageInfo ? messageInfo.message : undefined}
            action={action}
            anchorOrigin={{ vertical: 'top', horizontal: 'right' }}
        />
        <Box
            display="flex"
            justifyContent="center"
            alignItems="center">
            <Typography variant="h1">Page 2</Typography>
        </Box>

        <Stack justifyContent="center" marginTop={5} direction="row" spacing={2}>
            <TextField id="secret_key" label="Secret Key" variant="outlined" />
        </Stack>

        <Stack justifyContent="center" marginTop={5} direction="row" spacing={2}>
            <TextField id="decrypted_text" label="Decrypted Text" variant="outlined" />
            <Button variant="contained" onClick={handleEncrypt}> Encrypt Data </Button>
            <TextField id="encrypted_result" label="" variant="outlined" InputProps={{ readOnly: true }} />
        </Stack>

        <Stack justifyContent="center" marginTop={5} direction="row" spacing={2}>
            <TextField id="encrypted_text" label="Encrypted Text" variant="outlined" />
            <Button variant="contained" onClick={handleDecrypt}> Decrypt Data </Button>
            <TextField id="decrypted_result" label="" variant="outlined" InputProps={{ readOnly: true }} />
        </Stack>
    </Container>
</>
We added Two buttons to “Page 2” that will be used showcase the Encryption and Decryption functionalities offered by the crypto library along with Five TextField components that we will be used to encrypt and decrypt variable.
- Encrypting data To demonstrate encrypting data, we will create a
handleEncryptfunction that encrypt the passed text using the secret key Add the following function declaration inside thePage_2()function:
const handleEncrypt = (): void => {
        // Get values from text fields
        const decryptedValue = (document.getElementById("decrypted_text") as HTMLInputElement)?.value || '';
        const secretKey = (document.getElementById("secret_key") as HTMLInputElement)?.value || '';

        // Check if the secret key meets the minimum length
        if (secretKey.length < 32) {
            alert('Please enter a secret key with at least 32 characters.');
            return;
        }

        try {
            // Encrypt data
            const iv = crypto.randomBytes(16);
            const cipher = crypto.createCipheriv('aes-256-cbc', Buffer.from(String(secretKey), 'utf-8'), iv);
            let encrypted = cipher.update(decryptedValue, 'utf-8', 'hex');
            encrypted += cipher.final('hex');
            const encryptedValue = iv.toString('hex') + encrypted;

            // Set the encrypted value in the text field
            const encryptedTextField = document.getElementById("encrypted_result") as HTMLInputElement;
            if (encryptedTextField) {
                encryptedTextField.value = encryptedValue;
            }

            // Show success message
            const message: SnackbarMessage = { message: 'Encryption successful', key: Date.now() };
            setSnackPack((prev) => [...prev, message]);
        } catch (error) {
            console.error('Error encrypting text:', error);
        }
    };
- Decrypting data To demonstrate decrypting data, we will create a
handleDecryptfunction that decrypt the passed text using the secret key Add the following function declaration inside thePage_2()function:
const handleDecrypt = (): void => {
        // Get values from text fields
        const encryptedValue = (document.getElementById("encrypted_text") as HTMLInputElement)?.value || '';
        const secretKey = (document.getElementById("secret_key") as HTMLInputElement)?.value || '';

        // Check if the secret key meets the minimum length
        if (secretKey.length < 32) {
            alert('Please enter a secret key with at least 32 characters.');
            return;
        }

        try {
            // Decrypt Data
            const iv = Buffer.from(encryptedValue.slice(0, 32), 'hex');
            const encryptedText = encryptedValue.slice(32);

            const decipher = crypto.createDecipheriv('aes-256-cbc', Buffer.from(String(secretKey), 'utf-8'), iv);

            let decrypted = decipher.update(encryptedText, 'hex', 'utf-8');
            decrypted += decipher.final('utf-8');

            // Set the decrypted value in the text field
            const decryptedTextField = document.getElementById("decrypted_result") as HTMLInputElement;
            if (decryptedTextField) {
                decryptedTextField.value = decrypted;
            }

            // Show success message
            const message: SnackbarMessage = { message: 'Decryption successful', key: Date.now() };
            setSnackPack((prev) => [...prev, message]);
        } catch (error) {
            console.error('Error decrypting text:', error);
        }
    }
Testing
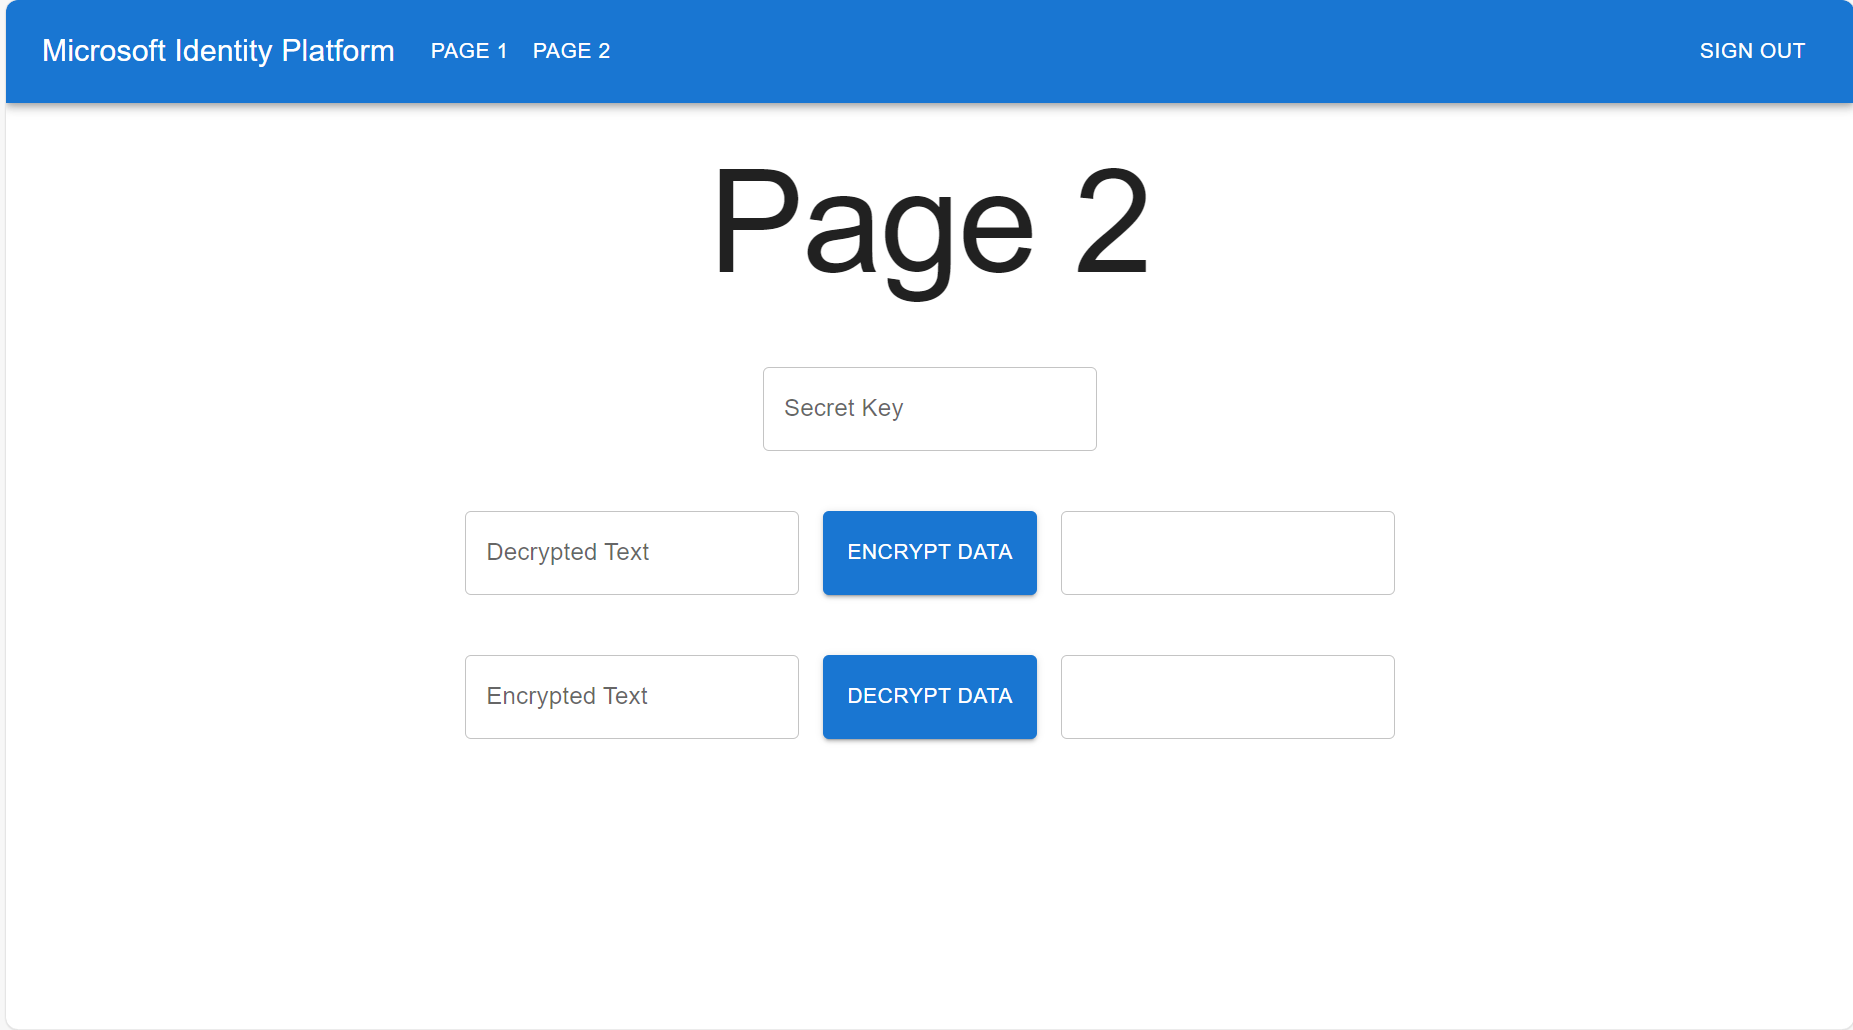
Navigate to “Page 2” by clicking the corresponding button after logging in. You will be presented with the following page:
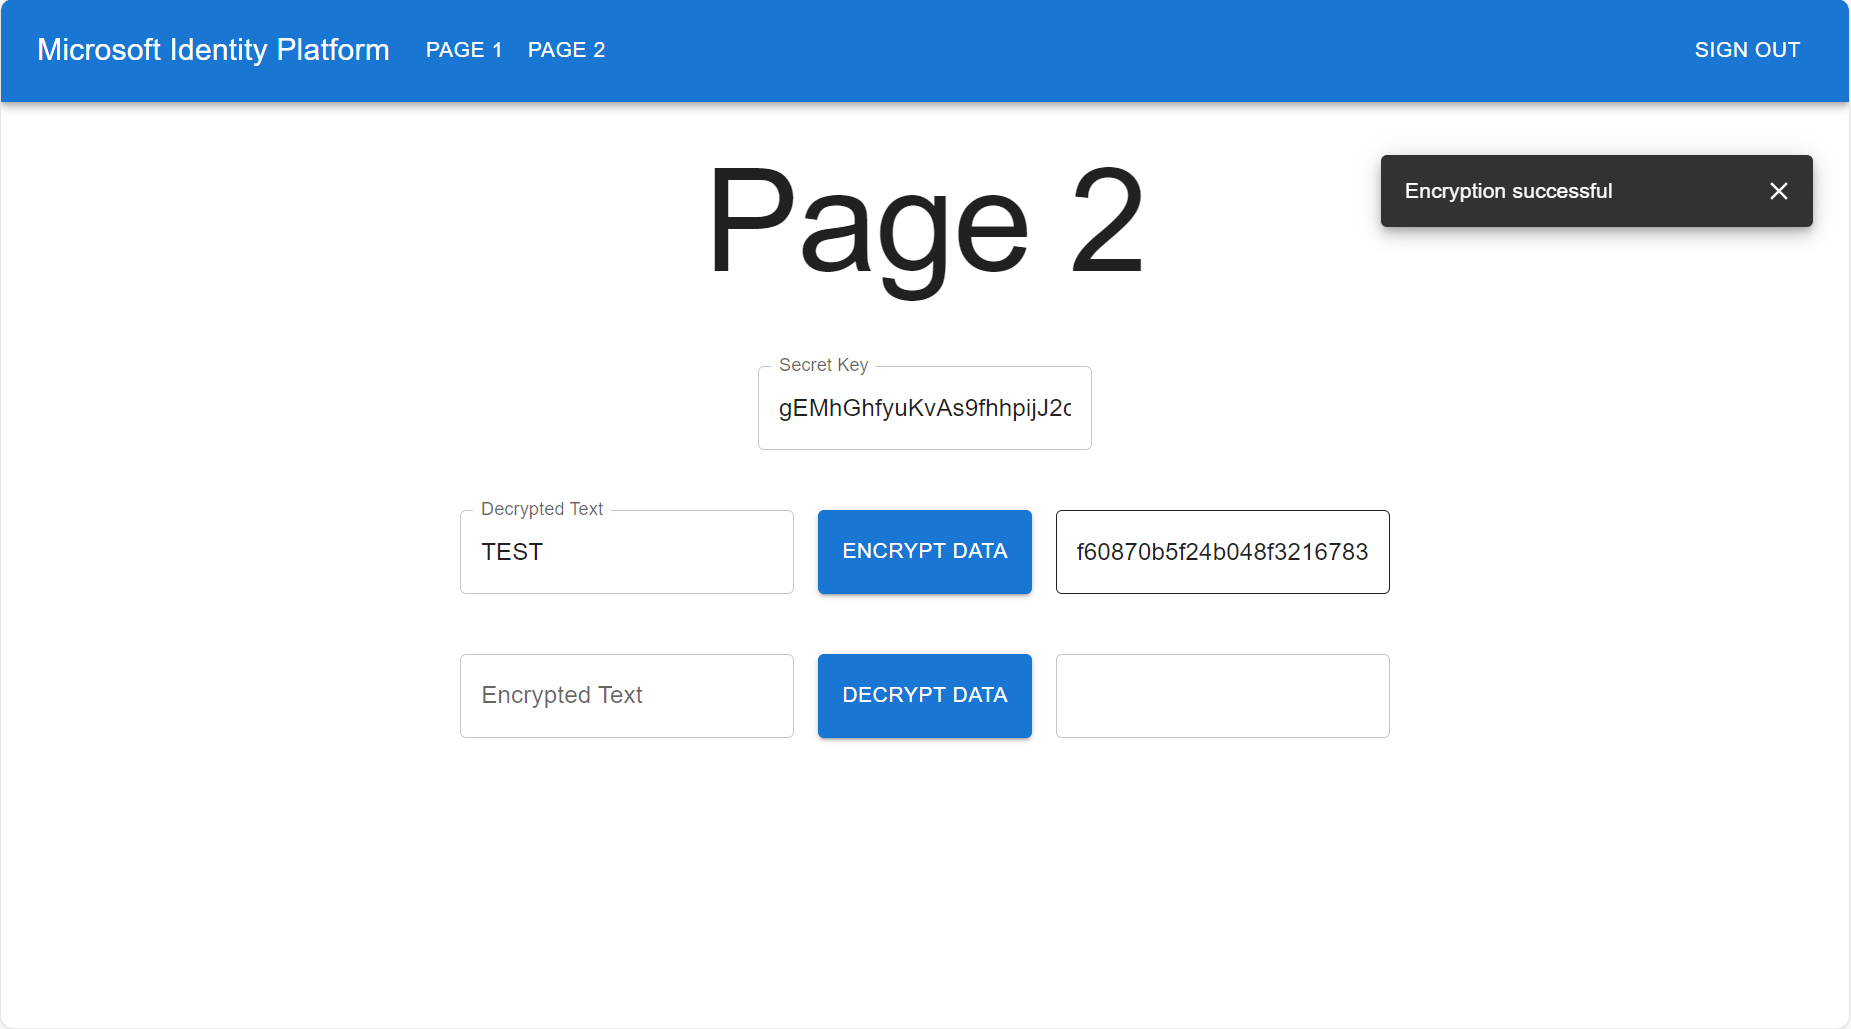
- Enter string value in the “Decrypted Text” text field.
- Enter string value in “Secret Key” text field. Notice that the Secret Key should not be less than 32 characters.
- Click the “Encrypt Data” button.
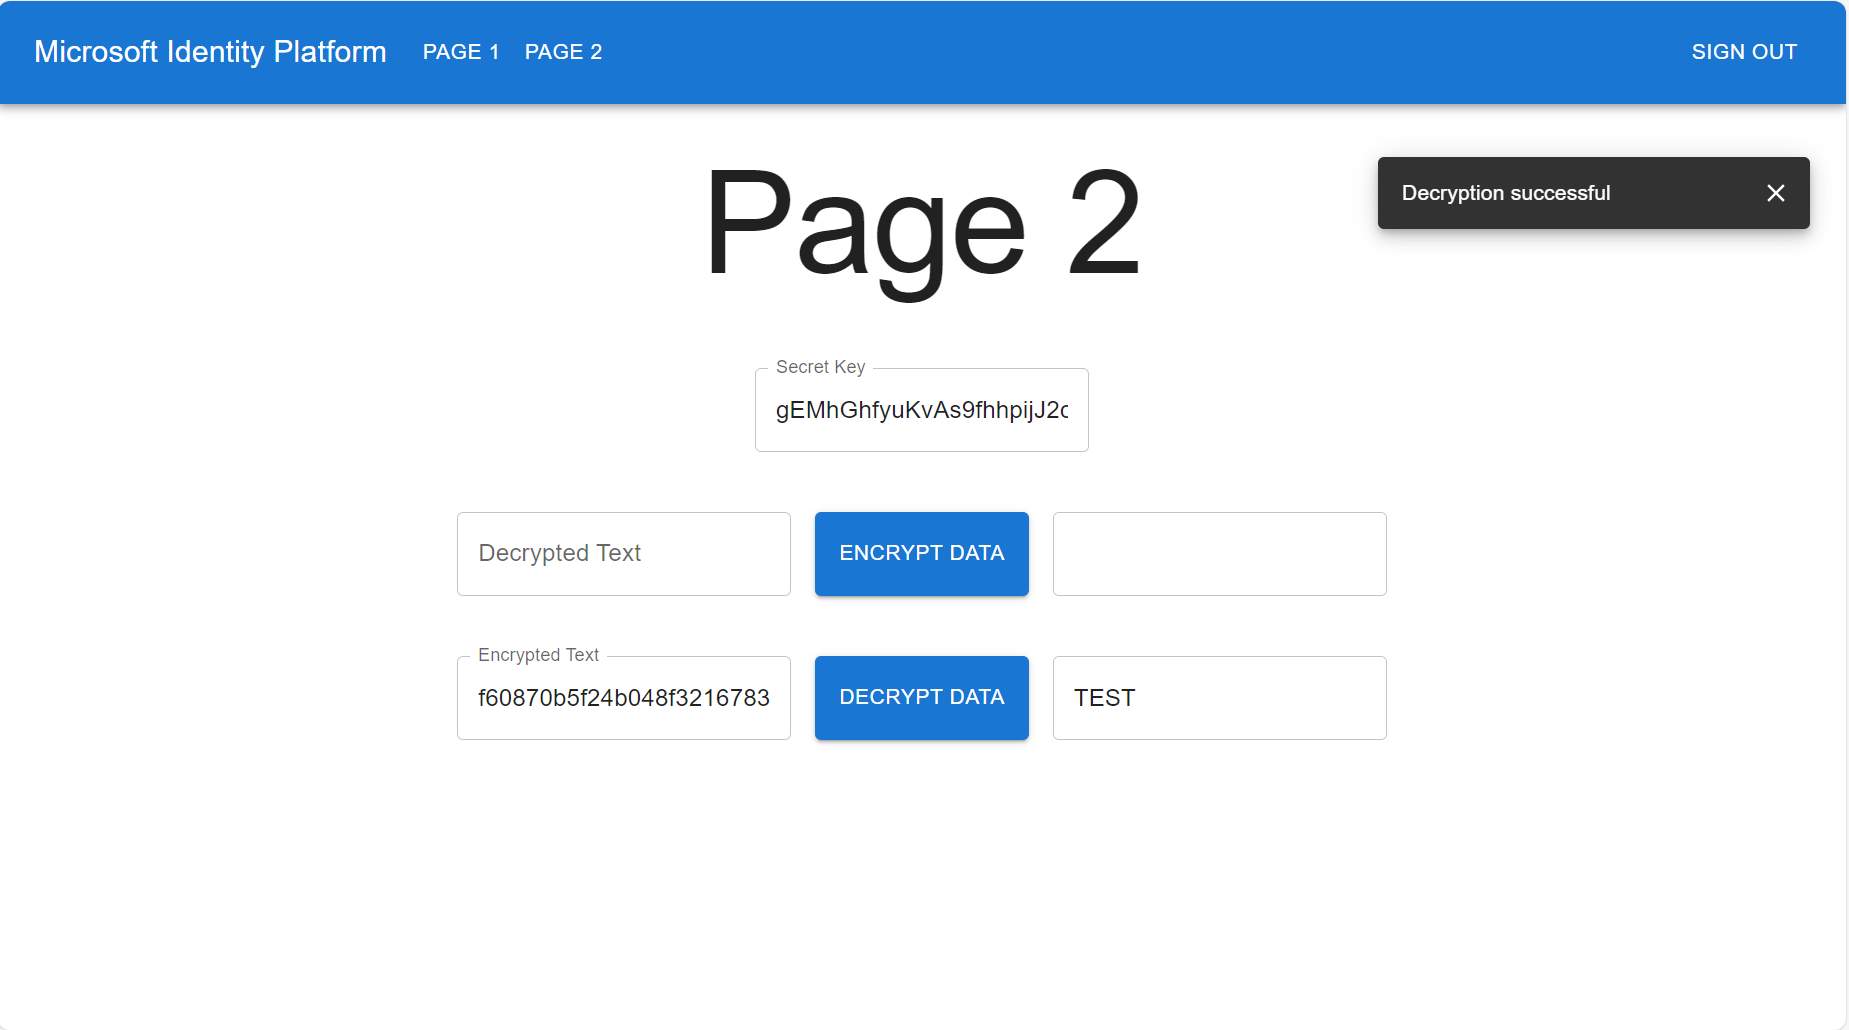
- Enter the resulted Encrypted value in the “Encrypted Text” text field. - Enter the “Secret Key” text field, the secret key should be the same one that used for encryption.
- Click the “Decrypt Data” button.